Setting Up AWS CodePipeline : Uploading to S3
This guide will walk you through setting up AWS CodePipeline to automatically copy your Git repository to an S3 bucket after a push. Follow these detailed steps:
Step 1: Set Up an S3 Bucket
- Log in to the AWS Management Console.
- Navigate to the S3 Service.
- Create a New Bucket:
- Click on "Create bucket".
- Enter a unique bucket name (e.g., your-s3-bucket-name).
- Select a region (e.g., us-east-1).
- Keep other settings as default and click "Create bucket".
Step 2: Set Up AWS CodePipeline
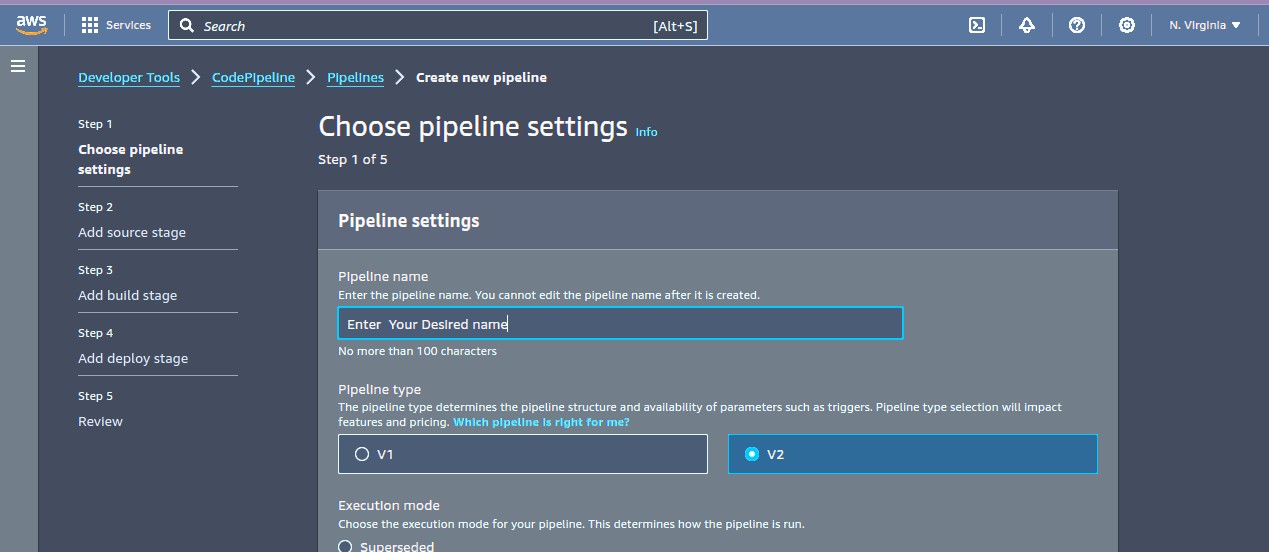
- Navigate to the CodePipeline Service.
- Create a New Pipeline:

- Click on "Create pipeline".
- Enter a pipeline name (e.g., MyGitToS3Pipeline).
- Keep the default service role (or create a new one if necessary).
- Click "Next".


Step 3: Add a Source Stage
- Choose Source Provider:

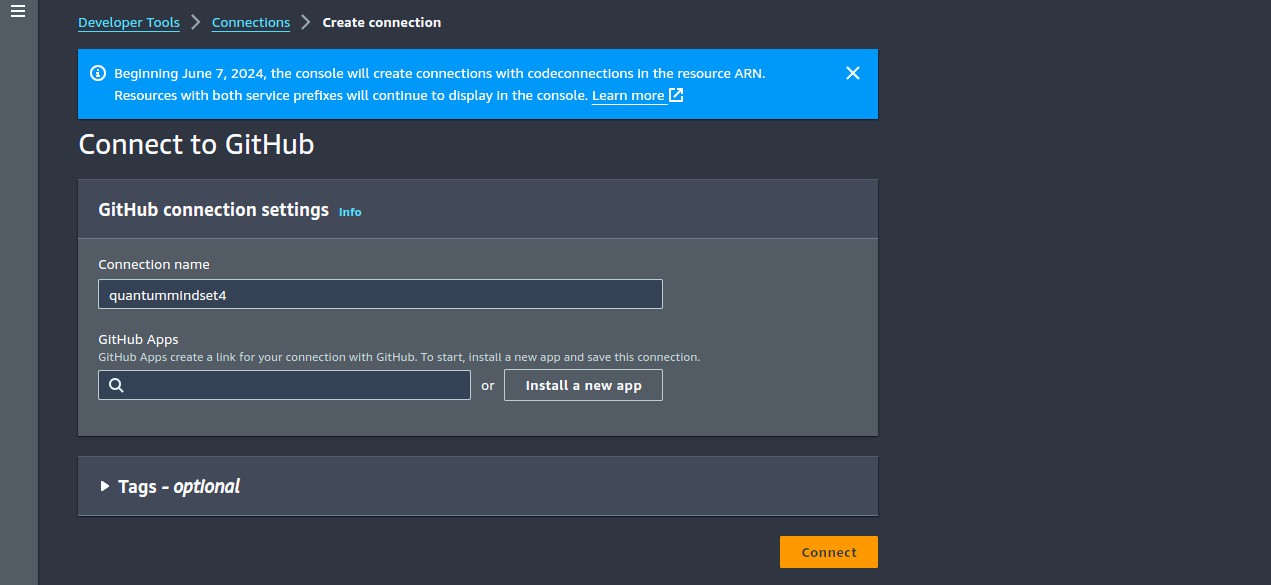
- Select "GitHub (Version 2)".
- Click on "Connect to GitHub" and authorize AWS to access your GitHub account.
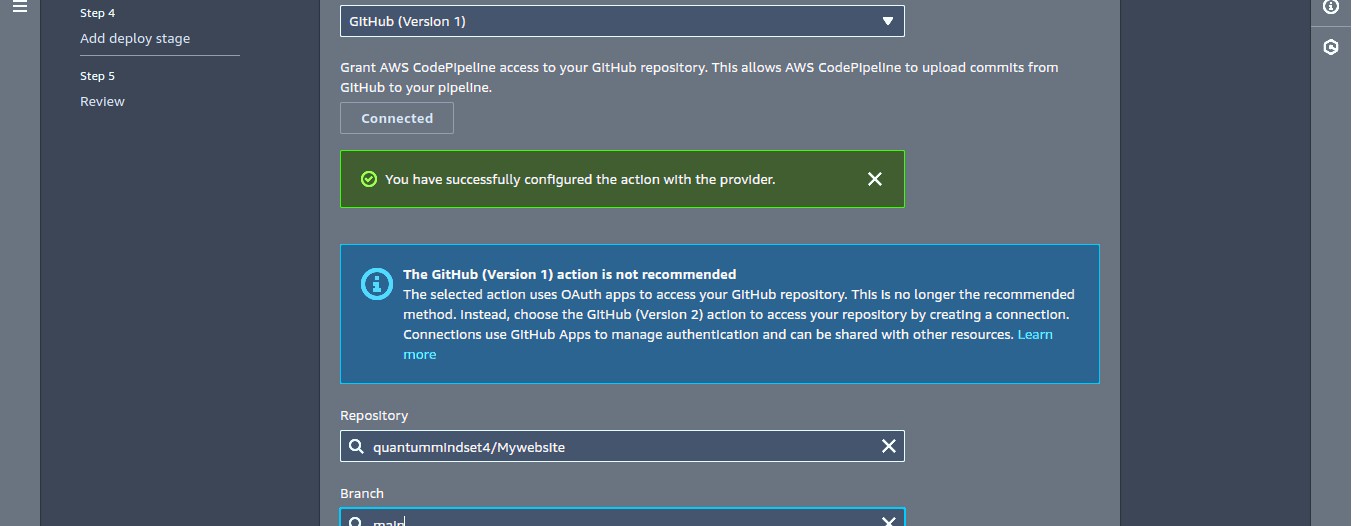
- Select Repository and Branch:

- Choose the repository you want to monitor (e.g., your-repo-name).
- Choose the branch you want to monitor (e.g., main).
- Click "Next".
Step 4: Add a Build Stage
- Skip the Build Stage:
- Since you only need to sync the repository contents to S3, you can skip the build stage.
- Click "Skip build stage".
- Confirm by clicking "Skip".
Step 5: Add a Deploy Stage
- Choose Deploy Provider:
- Select "Amazon S3".
- Configure Deploy Settings:
- Bucket name: Select your previously created S3 bucket from the dropdown.
- Extract file before deploy: Leave unchecked (unless you are uploading a zip file and want it to be extracted).
- Click "Next".
Step 6: Review and Create the Pipeline
- Review Your Pipeline Settings:
- Ensure all settings are correct.
- Create Pipeline:
- Click "Create pipeline".
Step 7: Configure CodeBuild (Optional but Recommended)
- Navigate to the CodeBuild Service.
- Create a Build Project:
- Click on "Create build project".
- Project name: Enter a name (e.g., MyCodeBuildProject).
- Source: Select "CodePipeline".
- Environment:
- Managed image: Amazon Linux 2
- Runtime: Standard
- Image: aws/codebuild/amazonlinux2-x86_64-standard:3.0
- Environment type: Linux
- Service role: Create a new role or use an existing one.
- Click "Create build project".
Step 8: Add Buildspec File
Create a buildspec.yml file in your repository root with the following content:
version: 0.2

phases:
  install:
    runtime-versions:
      python: 3.x
  build:
    commands:
      - echo "Starting S3 sync"
      - aws s3 sync . s3://your-s3-bucket-name --delete

artifacts:
  files:
    - '**/*'
Step 9: Update Pipeline with CodeBuild
- Go Back to Your Pipeline:
- Click on your pipeline name in CodePipeline.
- Edit the Pipeline:
- Click on "Edit".
- Add a Build Stage:
- Add a new stage between source and deploy.
- Name it (e.g., Build).
- Configure CodeBuild:
- Click on "Add action group".
- Action name: Enter a name (e.g., CodeBuildAction).
- Action provider: Select "AWS CodeBuild".
- Input artifacts: Select the output artifact from the source stage.
- Configuration: Select your CodeBuild project.
- Click "Done".
- Click "Save".
Step 10: Test Your Pipeline
- Push a Change to Your GitHub Repository:
- Make a change to your repository and push it to the main branch.
- Monitor the Pipeline:
- Go to the CodePipeline console and monitor the progress of your pipeline.
- The pipeline should trigger, run CodeBuild, and then deploy the artifacts to your S3 bucket.
Summary
This guide walked you through setting up an S3 bucket, creating an AWS CodePipeline, configuring the pipeline with GitHub as the source, optionally using CodeBuild to handle more complex build tasks, and finally deploying the contents to your S3 bucket.
By following these steps, you can automate the process of syncing your Git repository to an S3 bucket whenever changes are pushed to the specified branch.