SAP BASIS Post-Installation Steps – A Comprehensive Guide for SAP Trainees
Introduction
Post-installation steps in SAP BASIS are crucial to ensure that your SAP system is configured correctly and ready for productive use. This guide will walk you through each step in detail, providing explanations and procedures to help you understand and execute these tasks effectively.
SAP GUI Installation
Run the Installer:
- Double-click on setup.exe.
- Follow the prompts by selecting all options, clicking 'Next', and then 'Finish'.
SAP Logon Configuration:
- After installation, the SAP Logon icon appears on the desktop.
- Open SAP Logon, select 'New Item', and add your SAP system entries.
Details to Add:
- Description: SAP 4.7
- Application Server: Hostname or IP address (e.g., abc)
- SID: D47
- Instance Number: 00
Starting and Stopping SAP Systems using SAP MMC
Open SAP MMC:
- Double-click on SAP MMC.
- Right-click on your system (e.g., D47).
- Select 'All Tasks' -> 'Start/Stop' to start or stop the system.
Post-Installation Steps
1. Initial Consistency Check (SICK)

Login: Use the DDIC user in client 000.
Transaction Code: SICK
Purpose: This check ensures there are no errors post-installation.
What to Capture: Ensure that the system shows no errors. If errors are found, address them according to the provided details.
2. Applying SAP License (SLICENSE)
Get Hardware Key:
saplicense –getDownload the license from the SAP Marketplace.
Transaction Code: SLICENSE
Purpose: To apply the SAP license using the hardware key.
What to Capture: Verify that the license is correctly applied and active.
3. Importing Profiles (RZ10)
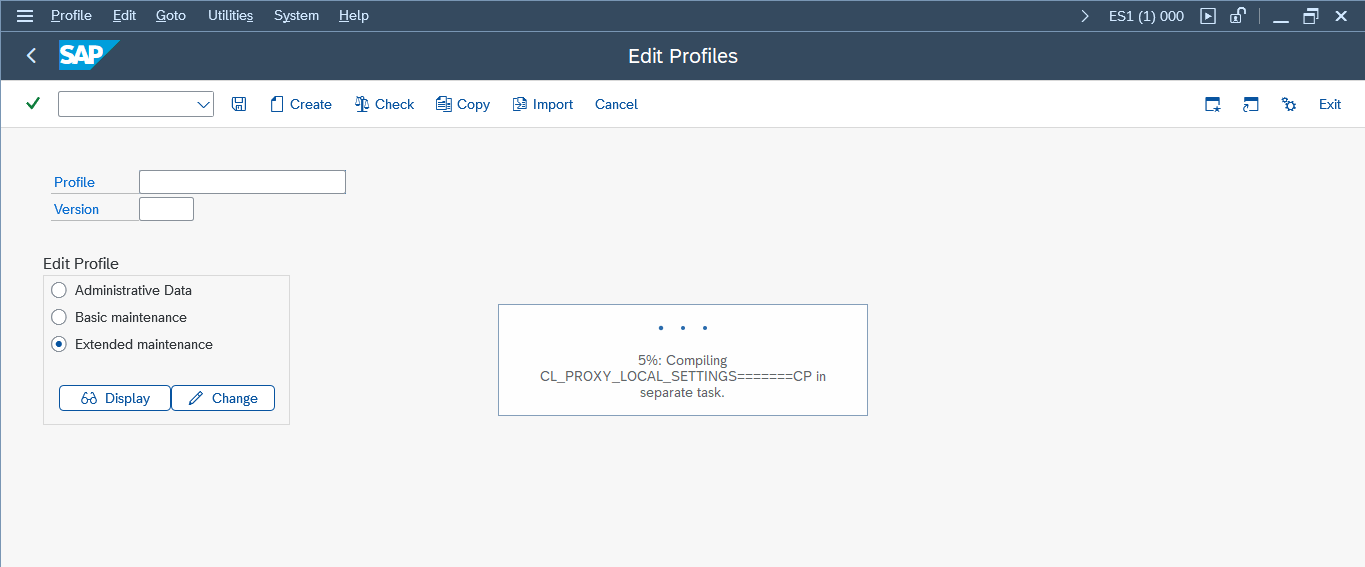
Transaction Code: RZ10
Steps:
- Select
Utilities->Import->Active Profiles.
Purpose: This step imports the profiles from OS level to SAP level. The profiles are located at /usr/sap/SID/sys/profile.
What to Capture: Ensure all profiles are imported without errors.
4. Installing Language (SMLT)
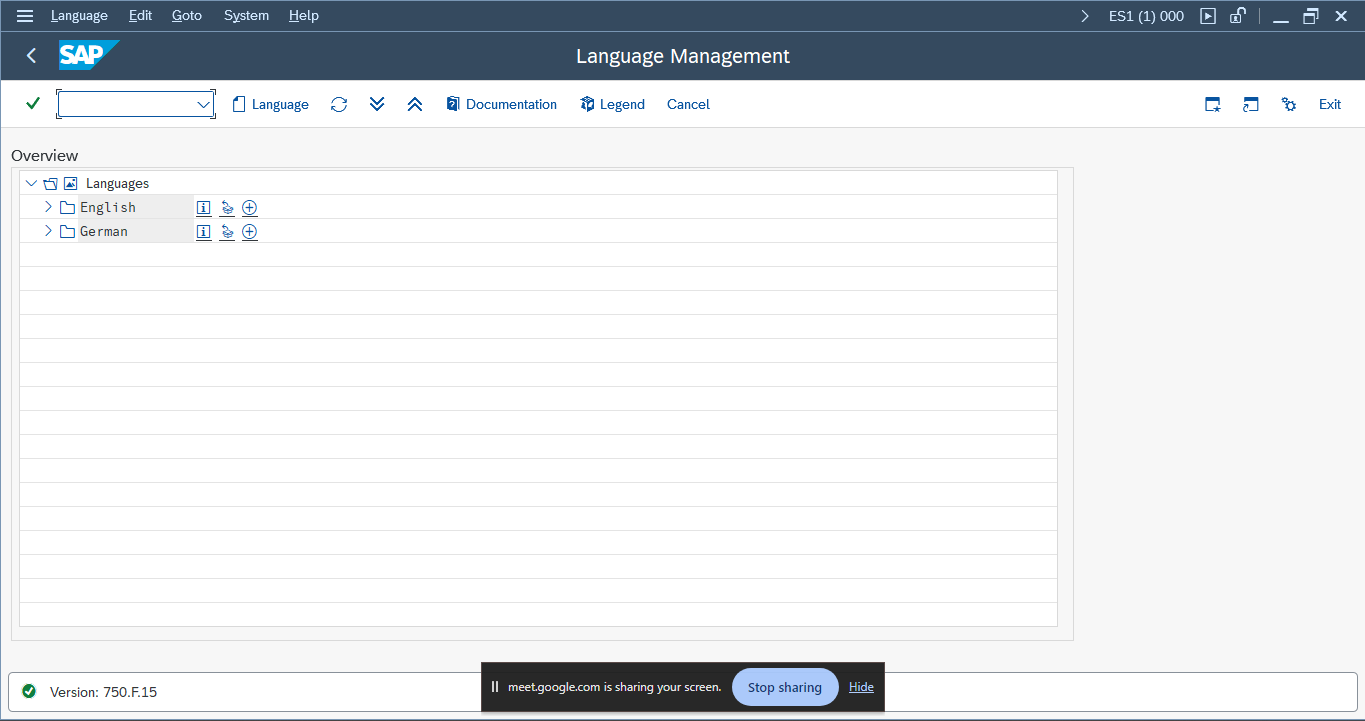
Transaction Code: SMLT
Purpose: To install the necessary languages for your SAP system.
Steps: Follow the standard installation procedure.
What to Capture: Confirm that the language installation is successful.
5. System Change Options (SE06)
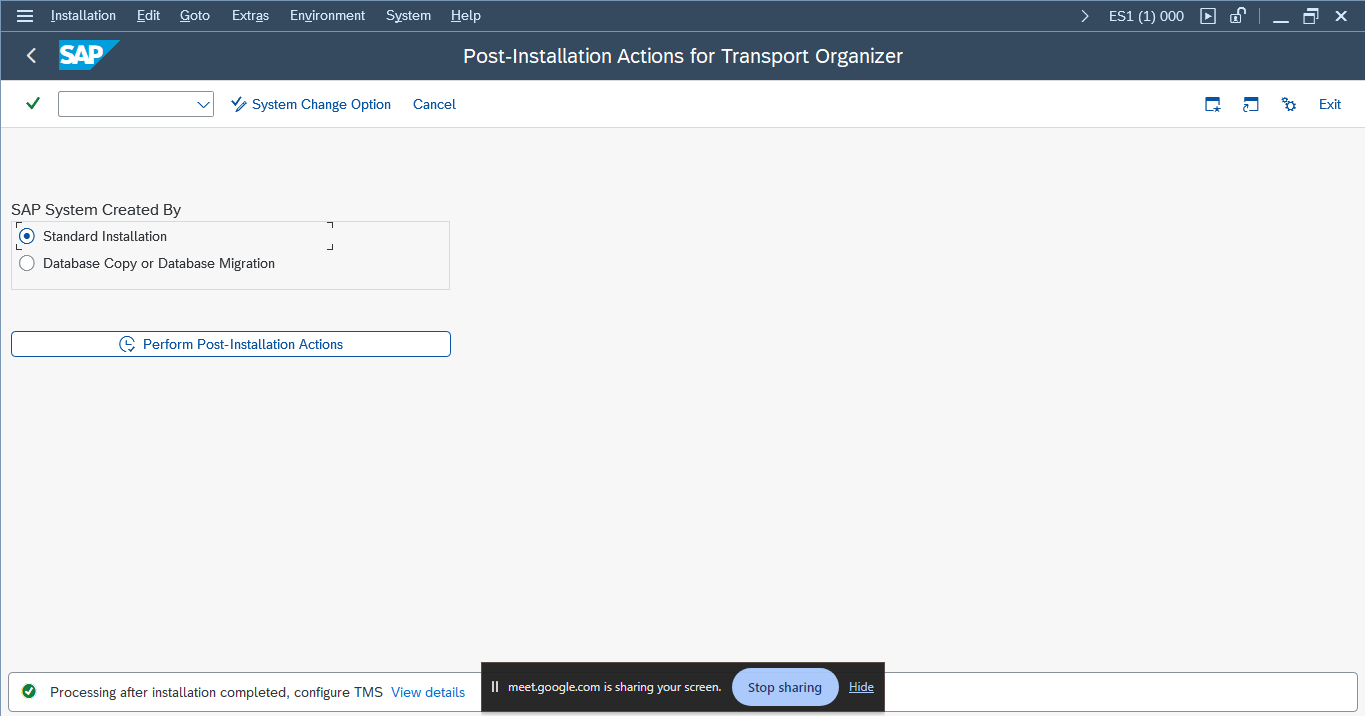
Transaction Code: SE06
Steps:
- Select
Standard Installationand perform post-installation steps by clickingYes.
Purpose: To configure system change options.
What to Capture: Ensure that system change options are correctly configured.
6. SAP Transport Management System (STMS)
Transaction Code: STMS
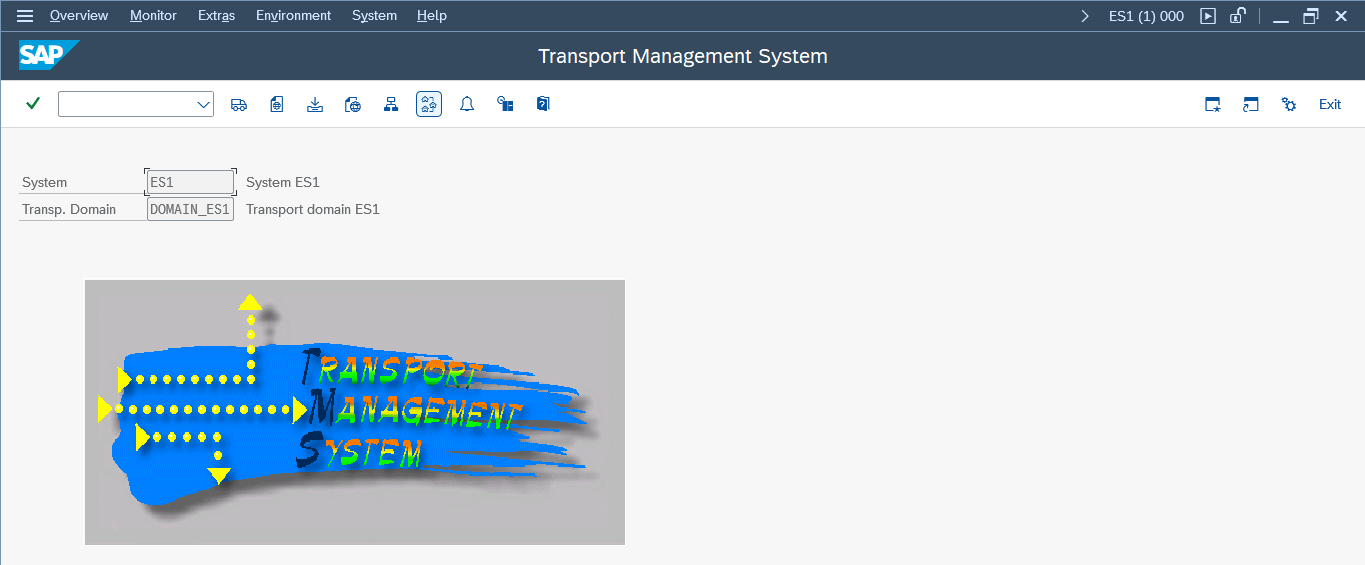
Steps:
- Save the configuration if the current system is the domain controller.
- Create two virtual systems (Q47 and P47). These are for example you can create your own
- Configure transport routes using
Standard Configuration->Three System Landscape.
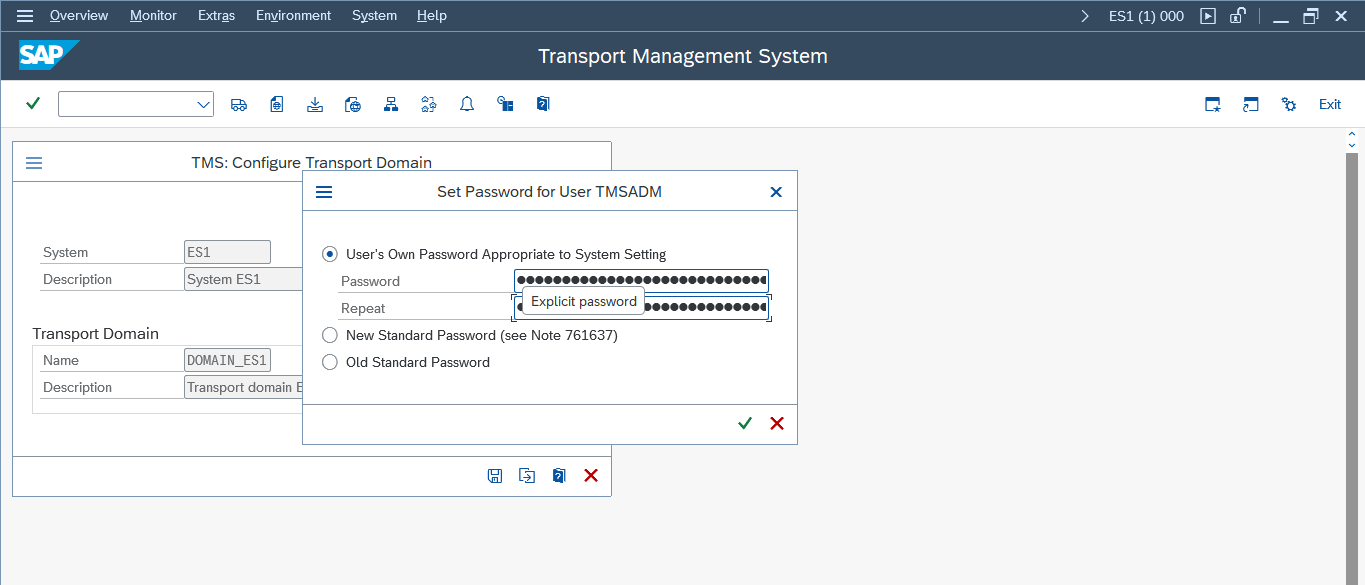
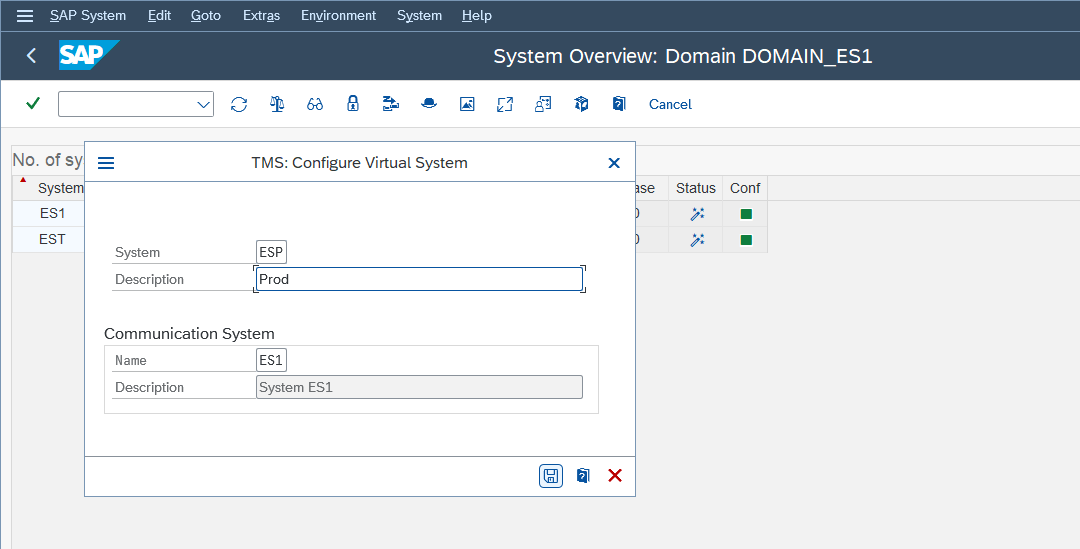
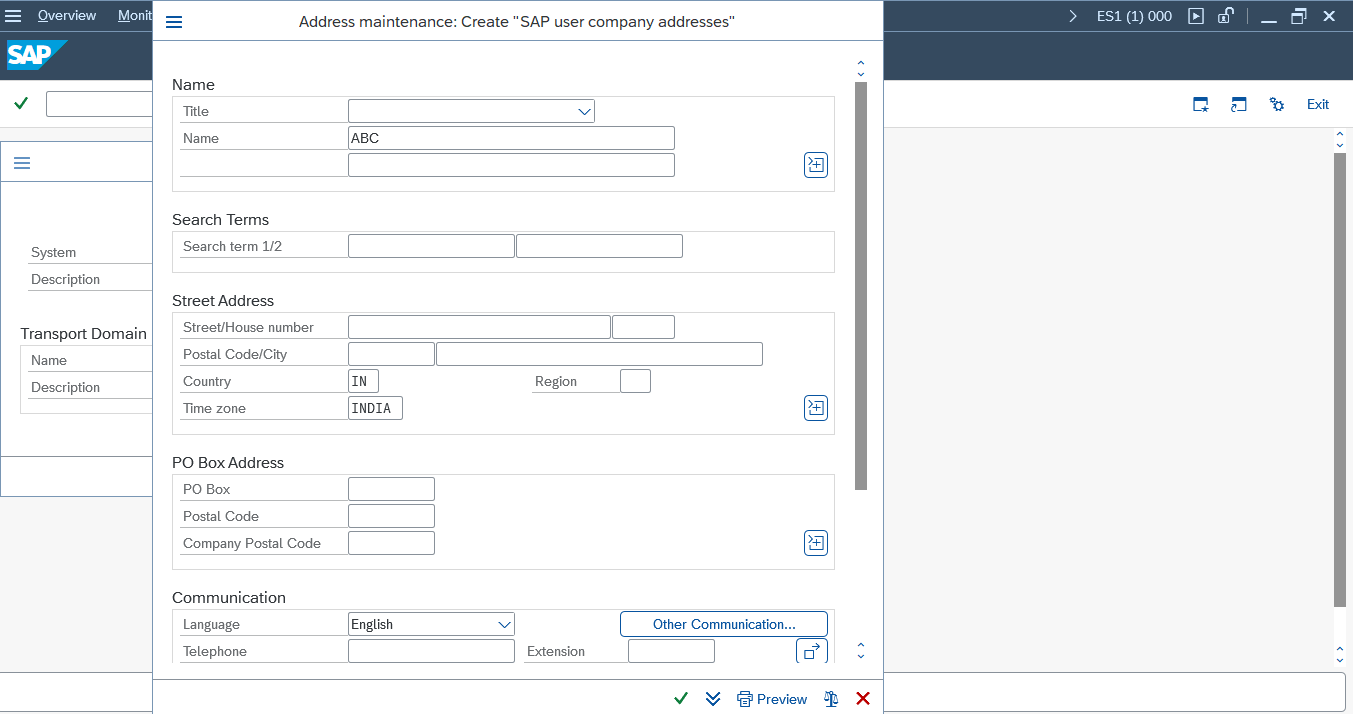
Purpose: To set up the SAP Transport Management System.
What to Capture: Verify the transport routes and system configurations are correctly set up.
7. Client Administration (SCC4)
Transaction Code: SCC4
Steps:
- Create a new client (e.g., 111).
- Fill in the client details:
- Client Number: 111
- Description: Development System
- City: VVNAGER
- Client Role: Customization
- Save the new client.
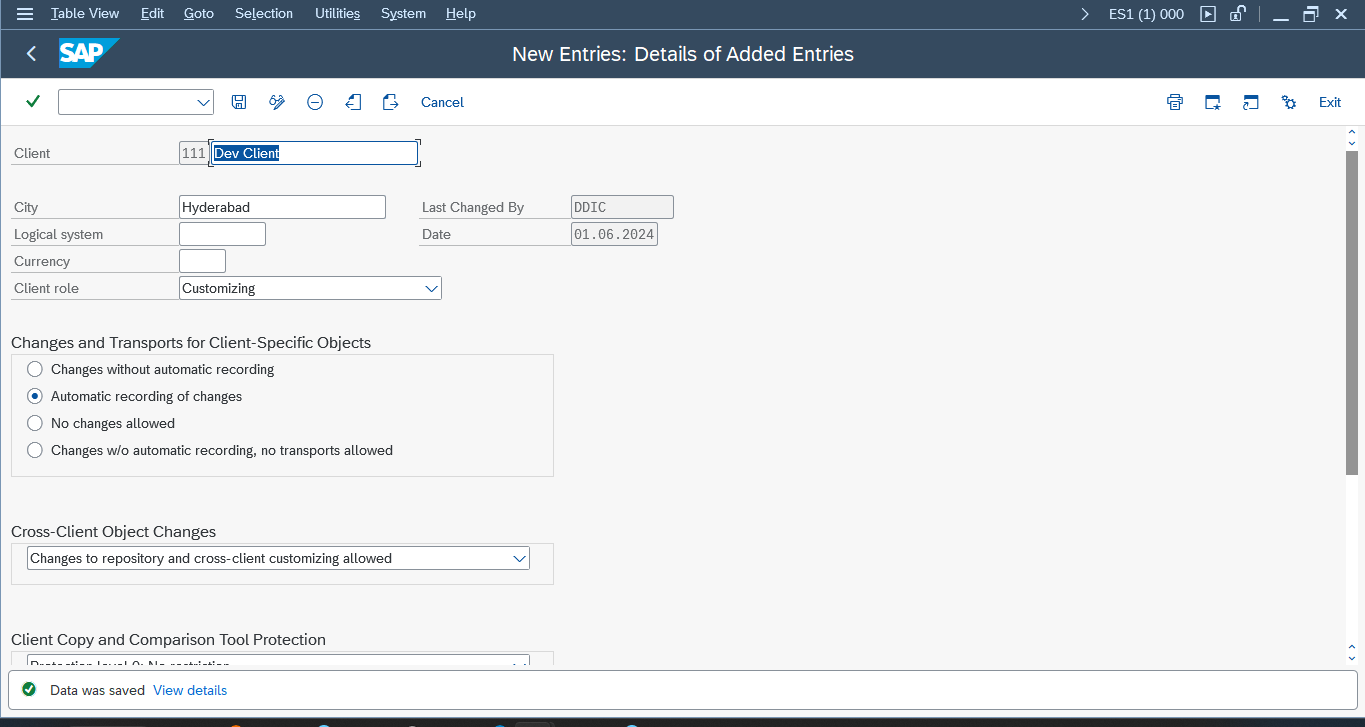
Purpose: To create and configure new clients in the SAP system.
What to Capture: Ensure the new client is created and configured correctly.
8. Local Client Copy (SCCL)
Login: Use sap* user in the newly created client (e.g., 111).
Transaction Code: SCCL
Steps:
- Select the profile
SAP_ALLand schedule the copy as a background job.
Purpose: To copy the client structure.
What to Capture: Monitor the client copy process using SCC3 to ensure completion without errors.
Summary of Post-Installation Steps
- Installed GUI and logged into the system using
000/ddic. - Performed SAP Initial Consistency Check using
SICK. - Applied the SAP License using
SLICENSE. - Imported Profiles using
RZ10. - Installed Languages using
SMLT. - Set System Change Options using
SE06 - Configured SAP Transport Management System using
STMS. - Created Clients using
SCC4and Performed Local Client Copy usingSCCL.
Conclusion
By following these detailed steps, you can ensure that your SAP system is properly configured and ready for use. Each transaction and step plays a critical role in maintaining the integrity and performance of the SAP environment. As a SAP BASIS trainee, mastering these post-installation tasks will provide a solid foundation for your future work in managing and optimizing SAP systems.